Procreate is a powerful digital art app that allows you to create stunning artwork on your phone or iPad. In this quick tutorial, you'll learn how to easily turn photos or your own artwork into PNG stickers for social media or personal use.
Step 1: Import Your Photo
Open Procreate and create a new canvas. Select “Import” to choose a photo from your library. You can also create your artwork directly in the app and export it from there.
Step 2: Create a Layer in Procreate
Create a new layer by selecting the layers panel located at the top right of the screen.
Step 3: Get Creative
Choose a brush from your brush library and trace the subject of the photo. Begin with broad strokes and gradually add more detail. Taking time to create a clean, accurate outline will help you achieve the best results.
Step 4: Add the Details
Zoom in and use a thiner brush to capture details such as intricate patterns or facial features.
Step 5: Create a Layer for Filling in Colors
After you finish the outline and details, create a new layer below the outline layer and name it “Color.”
Step 6: Refine the Colors and Shading
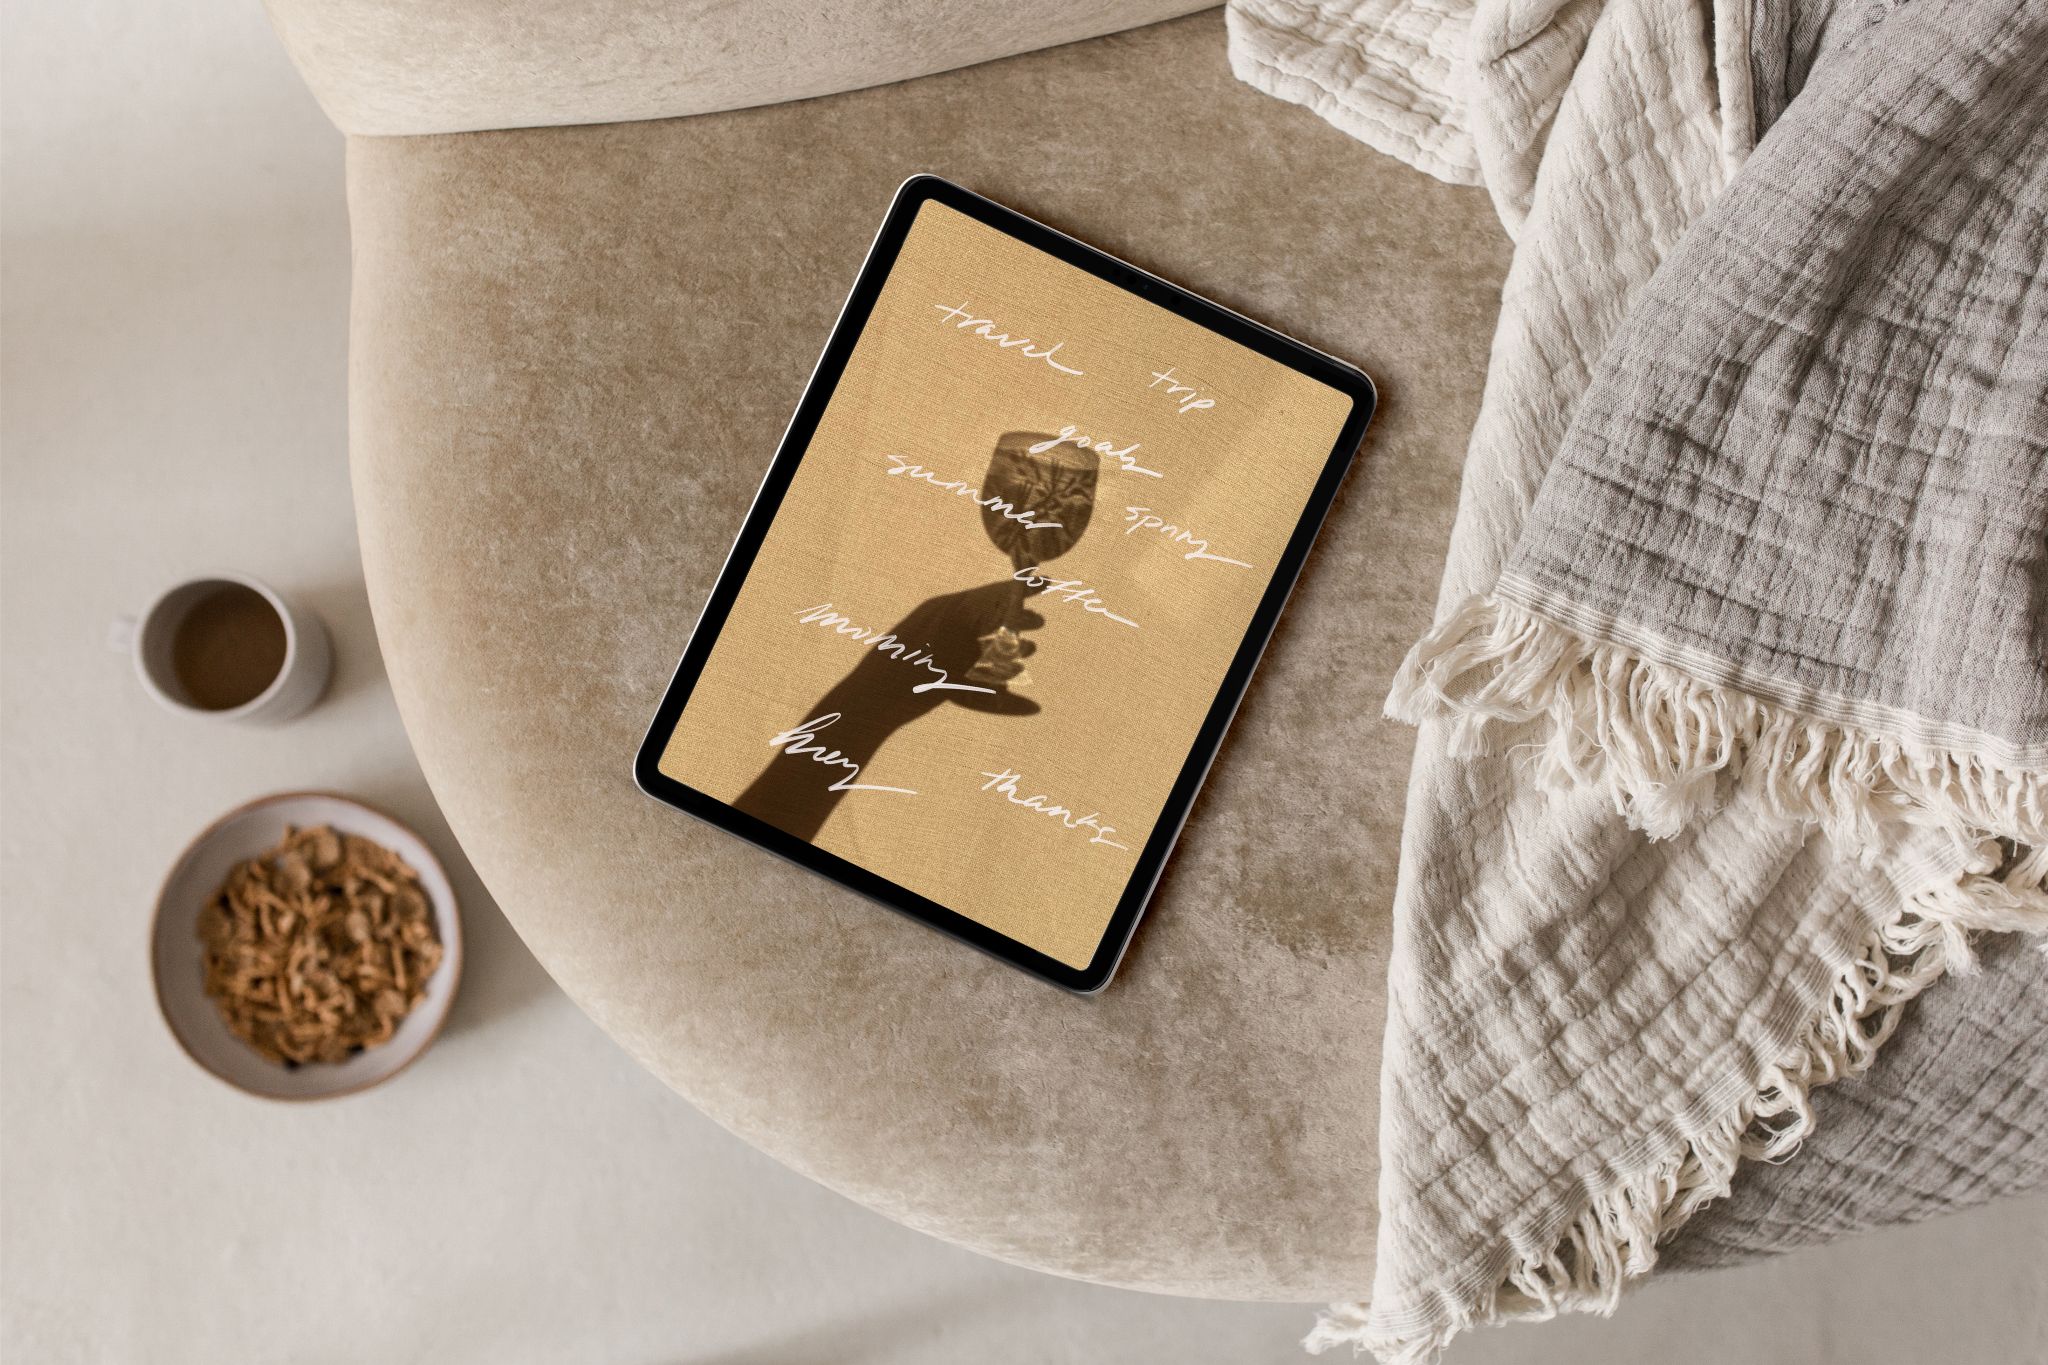
To refine the colors for your sticker, you can experiment with blending modes, opacity, and layer adjustments in the app. This is where your unique style starts to come through.
Step 7: Export Your Sticker
When you’re finished, navigate to the wrench icon in the top-right corner and export your color file as a PNG.
Step 8: Share Your Sticker
Now you can use your custom stickers for digital projects, social media, and Instagram stories!
Want Free Social Media Stickers?
Head to the resources page for free hand-lettered stickers and Canva templates!
