Learn the steps for a perfect at-home pedicure. Discover the best tools for DIY nail care to carry you through appointments. This post will cover a quick guide to help you take care of your nails simply and easily this season.
This post may contain affiliate links, which means I’ll receive a commission if you purchase through my links (at no extra cost to you). I only promote products I’ve tried and love. As an Amazon Associate and a 100%Pure associate I earn from qualifying purchases.
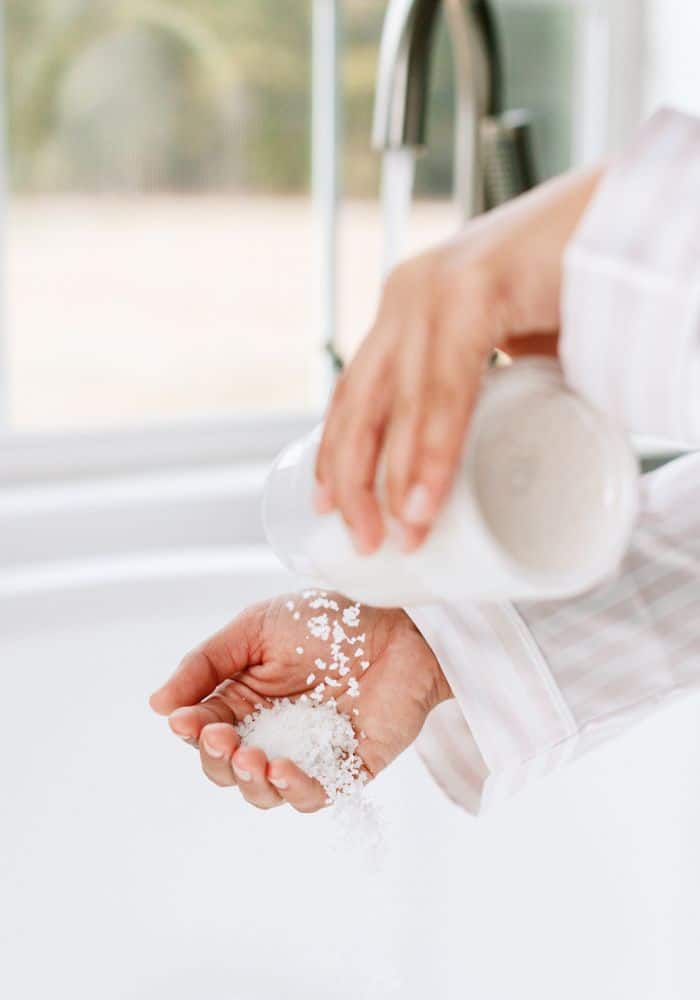
There are many reasons you might choose to do your nails at home. Although it’s not the same as a professional appointment, this can extend time between visits if you’re busy. Doing your nails is simple with the five steps below
It’s always good to use some nail polish remover to make sure you start with a clean slate. Sometimes clear nail polish lingers for longer than you might realize or natural oils can be on your nails from your hands. Dr.’s Remedy is a brand created by a podiatrist who wanted to offer a healthier formula to patients who couldn’t resist painting their nails. This is one of my favorite products:
I usually like to rinse with water after to remove any reside left over from the product.
After I purify my nails, I like to shape them. I use a nail kit from Sephora (similar here). I also have a sustainable nail file I like for shaping my nails and getting rid of any sharp edges (similar below).
For this step, you can use any one of your favorite moisturizers or oils. I like to use Burt’s Bees cuticle cream and a moisturizer by 100% Pure.
This sells out fast, so I’ve included a link below to the body butter page just incase.
Next, prime your nails with a clear nail polish. I love nail polish with SPF and I always use Dr.’s Remedy as my base coat.
After this, your nails are finally ready to paint. Right now I’ve been loving Kure Bazaar nail polish and Dr.’s Remedy of course. Check out my full review of Kure Bazar nail polish here.
Credits
Legal
© 2021-2023 Just Clean Style